
A camping trip is something that gets people very excited and focused on packing everything they want to have a good time. However, something that tends to get overlooked or even outright neglected is the tyres on camper trailers.
During the hectic packing process, you may have forgotten to check the air pressure and overall condition of your tyres. You must ensure that your tyres are in good nick before you leave home to go on your journey. Trust us, you don’t want to deal with a tyre that goes flat or blows out while you’re in the middle of nowhere.
It’s handy to have the wheels and tyres of your camper trailer to be the same as what’s on your vehicle if that’s possible. While they don’t necessarily need to be exactly the same, using interchangeable tyres will prove to be very beneficial.
Your tyres are one of the most important components of both your vehicle and camper trailer. You have to know what type of tyres you’ll need for your trip and how to correctly change your tyre if need be.
Inspect your tyres before you leave home. You must make sure that there are no cuts, chips, leaks, nails, or screws in any of the tyres, or are damaged in any way. Check the sidewalls and air pressure of your tyres since this can affect how well your trailer handles while it’s on the road.
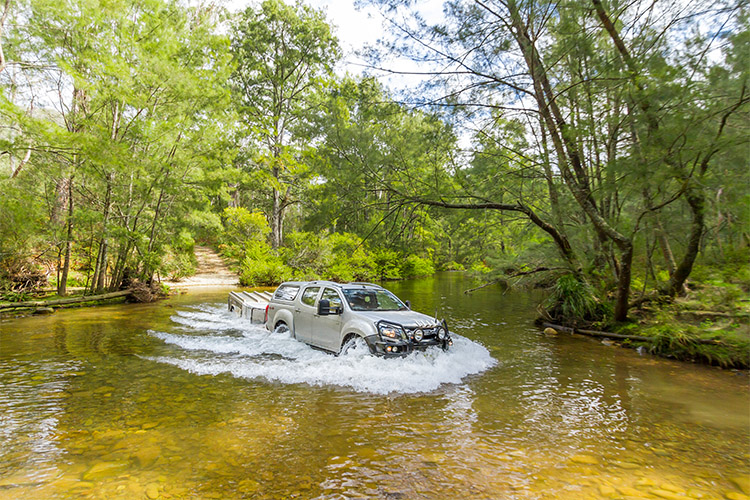
Before you go anywhere, you must know what type of tyres will work best for your camper trailer and the surfaces it will be driven on. Some people may think that a tyre is a tyre, but that’s simply not true. Knowing about the differences between mud-terrain and all-terrain tyres can make your off-road trip much safer and also more fulfilling.
When buying tyres, be realistic about your vehicle and camper trailer’s respective requirements and how they get used when travelling both on-road and off-road. Think about how often you drive off-road and the type of terrain you usually drive on.
Be aware that tyres for camper trailers have to be over 1.5 mm to be deemed roadworthy. If any of your tyres are more than six years old or are especially worn out, you should replace them before you go camping.
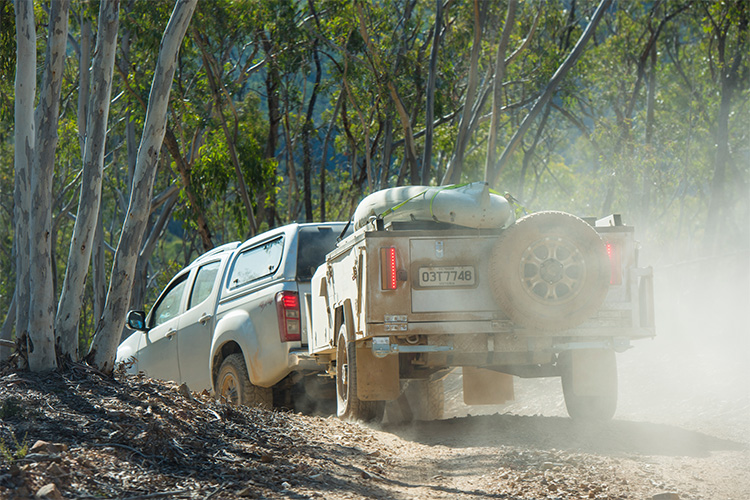
If you only take your camper trailer with you to go camping every blue moon, or only drive on dirt roads or on beaches, then all-terrain tyres are fine.
Decent all-terrain tyres are usually much quieter when travelling over asphalt than mud-terrain tyres are. They also offer superior handling, performance, and longer tread life.
All-terrain tyres perform better on gravel than mud-terrain tyres do. They also save you money on fuel, as mud-terrain tyres have tread that affects how air moves past your tow vehicle, which causes more fuel to be used up.
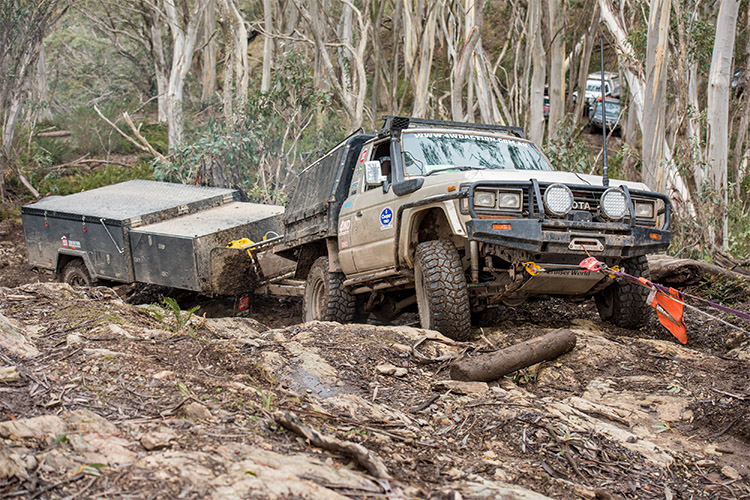
If most of your camping trips require you to drive over muddy ground, then mud-terrain tyres are the way to go. These tyres are made with the high traction and resilience needed for driving on muddy and rocky surfaces.
Mud-terrain tyres usually provide more sidewall strength and puncture resistance than all-terrain tyres do. The sidewalls of mud-terrain tyres are also far better at frequently having to run in lower pressures.
However, compared to all-terrain tyres, mud-terrain tyres have a worse grip on the road, regardless of if the road’s wet or dry. They are also noisier, use up more fuel, and do not last as long as all-terrain tyres.
But if you travel on muddy terrain a lot, then dealing with the higher road noise and losing a bit of tread life will be worth putting up with. You will also benefit from the increased traction and resilience that mud-terrain tyres provide.
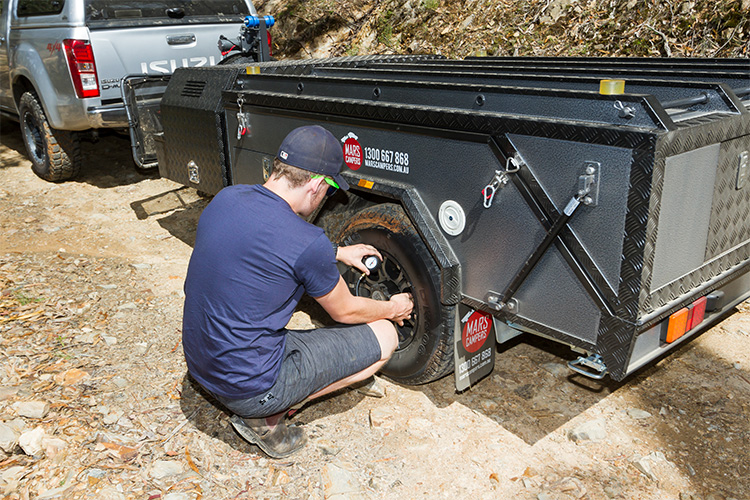
Unfortunately, a very common issue that all drivers have to sometimes deal with is when one of their tyres goes flat. You can significantly reduce the likelihood of this happening by checking that your tyres are well maintained and correctly inflated before you leave home. But sometimes you may experience some bad luck anyway with your tyres.
If you are not able to call roadside assistance to help you change your tyre, or if you’re in an off-road area where they may not be able to reach you, then you will have to change your flat tyre yourself.
Although changing the tyres on your camper trailer is mostly like changing the tyres on your car, you have to keep your camper trailer’s weight and stability in mind.
Our step-by-step instructions on how to correctly change your tyres will get you back on the road faster. However, it is critical that you learn how to do this before any journey.
1. Park Your Camper Trailer On Level Ground
Pull over to a safe spot that is well away from traffic, and put your vehicle in park, including the handbrakes. Keep your vehicle hooked up to the trailer if you can.
2. Loosen The Tyre’s Lug Nuts
To loosen lug nuts, you have to unscrew them with a tyre iron, but don’t remove them just yet.
3. Use Your Jack
Set your jack under the camper trailer’s underframe. Then pump the jack to lift the travel trailer up off the ground until the tyre has enough space above the ground so it can freely spin when turned. Do not lift the camper trailer any higher than necessary to prevent it from becoming unbalanced.
4. Remove The Lug Nuts
Use the tyre iron to completely remove the lug nuts. After doing this, pull the rim and tyre off the camper trailer wheel. Place the flat tyre on the ground out of the way.
5. Put In The Spare Tyre
Position the spare tyre where the flat tyre was placed. Push the new tyre and rim back into place on the wheel and place the lug nuts back onto the studs so the tyre will be held on.
6. Tighten The Lugs
Tighten the lugs onto the tyre with a torque wrench as per the vehicle maker’s specifications. Mars Campers recommends that the tyres on all of our camper trailer models should be tightened between 125NM and 135NM. Do not go over the specified tightness level.
You should recheck your tyres after you have driven 50km, and again after another 100km, to see if the tyre needs to be further tightened. If so, it is probably due to the tyre pressure being too high for corrugated roads. You should reduce the tyre pressure to around 25 PSI on corrugated roads. Later on, increase the tyre pressure to 35-44 PSI so the tyres can be driven on sealed roads.
7. Lower The Camper Trailer
After the lugs have been tightened, slowly lower the camper trailer back onto the ground by carefully releasing the jack. You should tighten the lugs in a cross pattern rather than tightening them all in a row. Then put your flat tyre where you had the spare tyre stored.
8. Check The Air Pressure Of The Other Tyres
Before you drive off, check that your other tyres are in good nick. You don’t want to deal with another tyre going flat or blowing out when you’re on the road, which can be very dangerous. It’s best to do this while you’re still off the road.
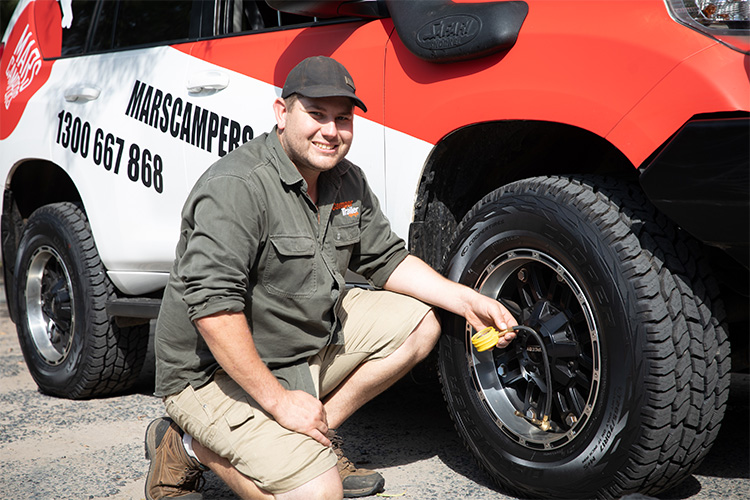
The air pressure of all of your tyres has to be regularly checked. It is crucial that you know what the proper inflation level on your tyres is. Not doing so can be dangerous. The more you know about tyre pressures work, the more you’ll benefit from them to ensure that your trip is a success.
To start with, know what the PSI (pounds per square inch) of your tyres are. The maximum recommended PSI is printed on them, so they should be simple enough to find.
All Mars camper trailers are capable of going off-road, but you have to lower the camper tyre pressures to around 20-25 PSI. Models that are equipped with leaf springs will not ride as flat as independent suspension models do. With this in mind, be cautious and drive slowly when you drive over both moderate or extreme off-road terrains.
All vehicles and camper trailers come with a tyre-load rating that states the maximum weight that your tyres can tolerate. The proper inflation level on the tyres can influence how much you can load in your car and camper trailer.
Keep in mind that you should not overinflate your tyres either. The tyres will wear out faster and show more wear along the centre width than along the edges. Uneven tread wear shortens your tyre’s overall life expectancy. If you also overload your camper trailer, you’re increasing the likelihood of your tyres blowing out.
Both over and underinflation can cause:
If you want more information about the type of tyres you’ll need for your camper trailer, or further information on camper trailers in general, Mars Campers can help you. Contact us by calling 1300 667 868 today!