It’s a hot day and you’re parked by the side of the river but the rubber on your tyres is melting and your camper trailer is an oven even in the shade. What do you do?
Glenn Burley stumbled on this brilliant solution as he reached for a coldie while discussing with his daughter the mechanics of an evaporative cooler they’d fixed the year before: “Can’t we do the same with an icebox for our camper?”
So the pair thought a bit more and scouted for the bits required to make one: an ice-box; a small pond pump to siphon the water to the top; foam or filters to distribute the water plus a few fans to blow out the air.
Glenn and his daughter found the cooler at the Reject shop. A search on eBay yielded the 12V pond pump, the filter pads and 12V computer fans. He already had the tee and plumbers’ hose for the piping, although a garden hose with 90° fittings would work equally well.
“An old cord from a 12V shower provided us with a switch and a standard 12V cigarette lighter provided a connection,” said Glenn: “It all cost $85.”
To complete the job Glenn used:

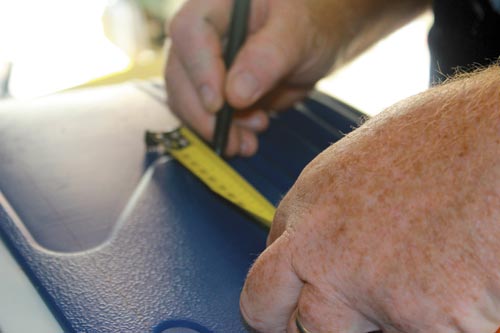
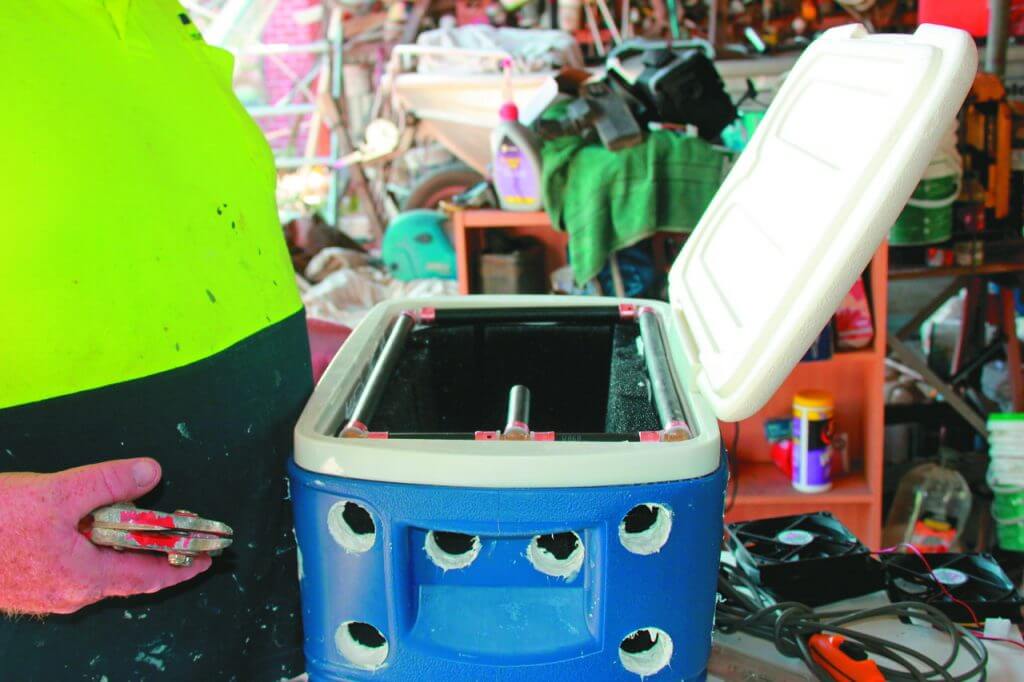
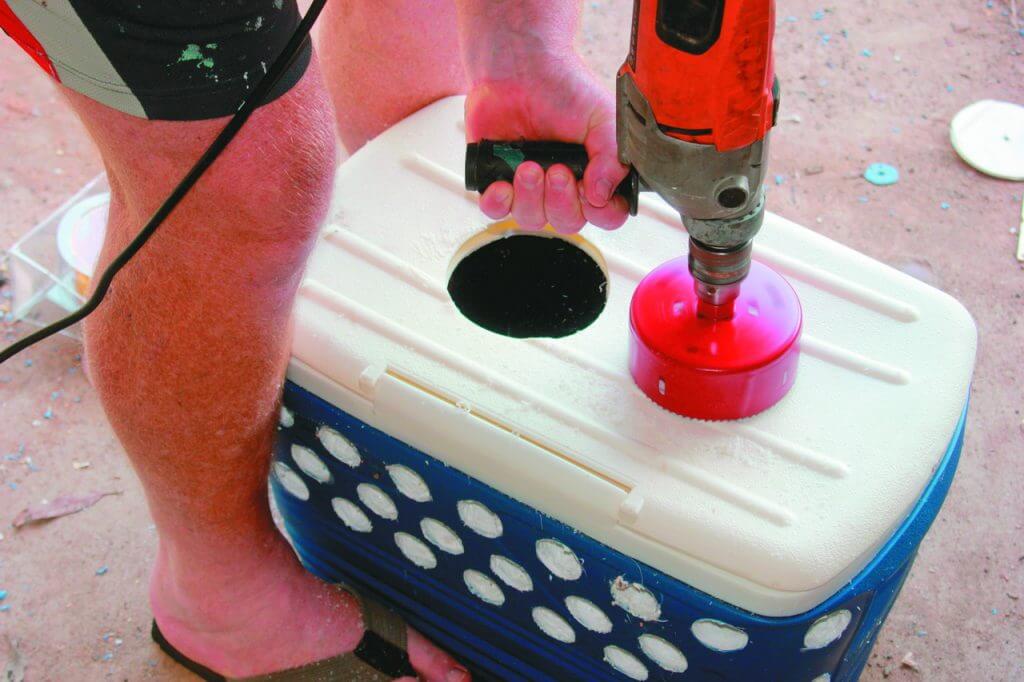
Mark out several evenly spaced holes on all four sides of the ice-box then drill to form air vents. A hole saw or a blade bit will do the job but you’ll need to drill slowly to avoid gripping the plastic; cleaning the holes with a file will remove all the sharp edges.
Seal the circumference of the holes using good quality bathroom silicon to prevent mildew; it’s easy to apply with your hands if you cut the tip of a rubber glove and slip it over your finger.
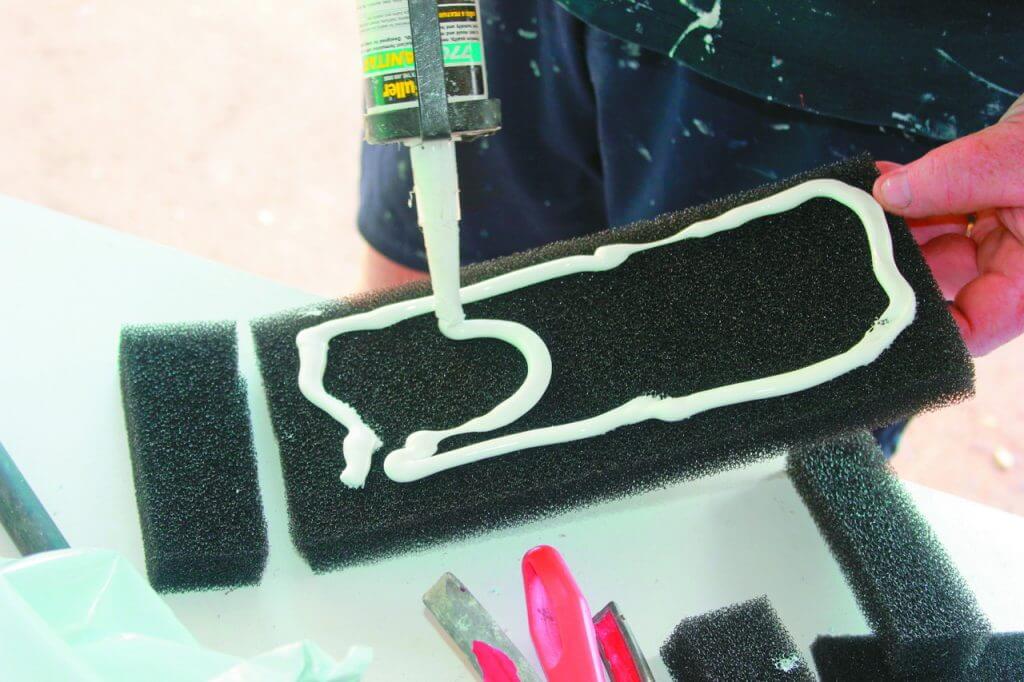
Glenn used a bit of silicon to apply the filter pads taking care not to silicon over the holes. “We recommend using two filter pads: a fine grade for the first layer and a coarse one for the second layer.” Glenn says the filter insert ought to be about 40mm thick.
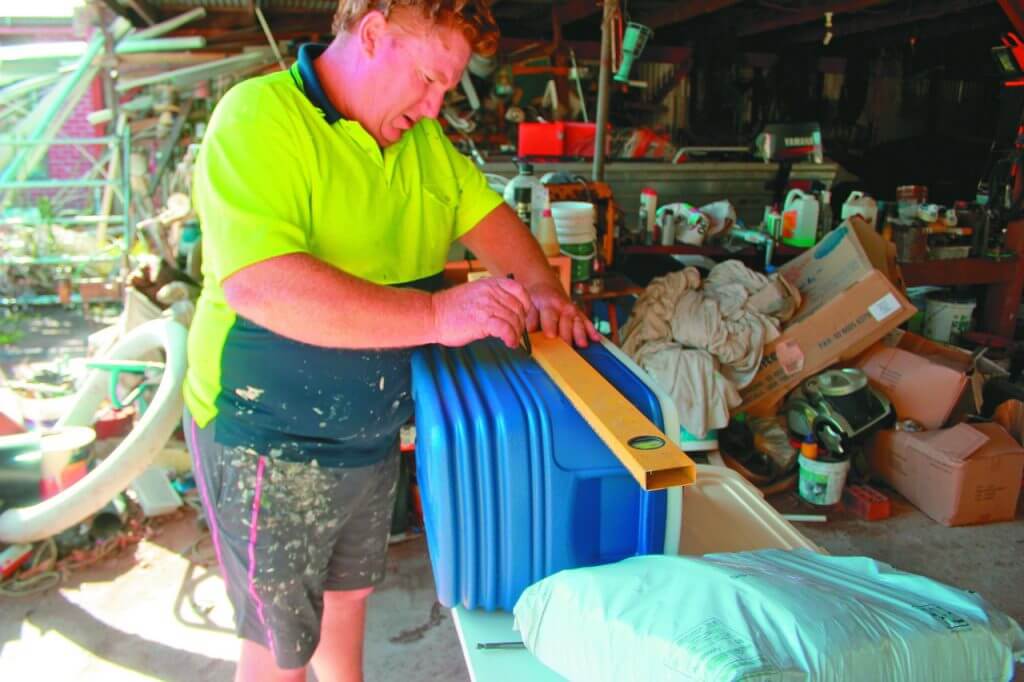
To make the drip pipe, measure the pipe so that it sits on top of the inside pad (see pic) and directs the water to through the pads and not down the sides. Glenn used the plumbing pipe he uses for work but reckons garden hose and 90° bends will also do the trick as the setup is not under pressure.
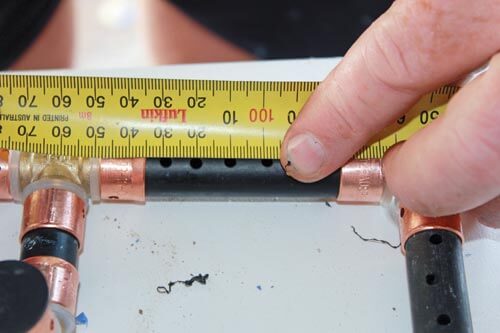
Measure and drill small holes about 10mm apart all around the pipe so that water drips down over the filter pads close to the pad joins. You’ll need a tee to ensure the hose goes down to the pump.
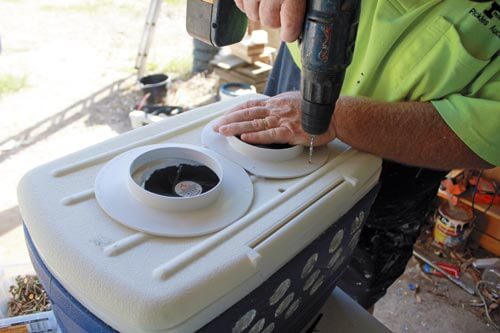
Now it’s time to drill the holes for the fans. The hole saw can grip if you’re not careful so try drilling in reverse.
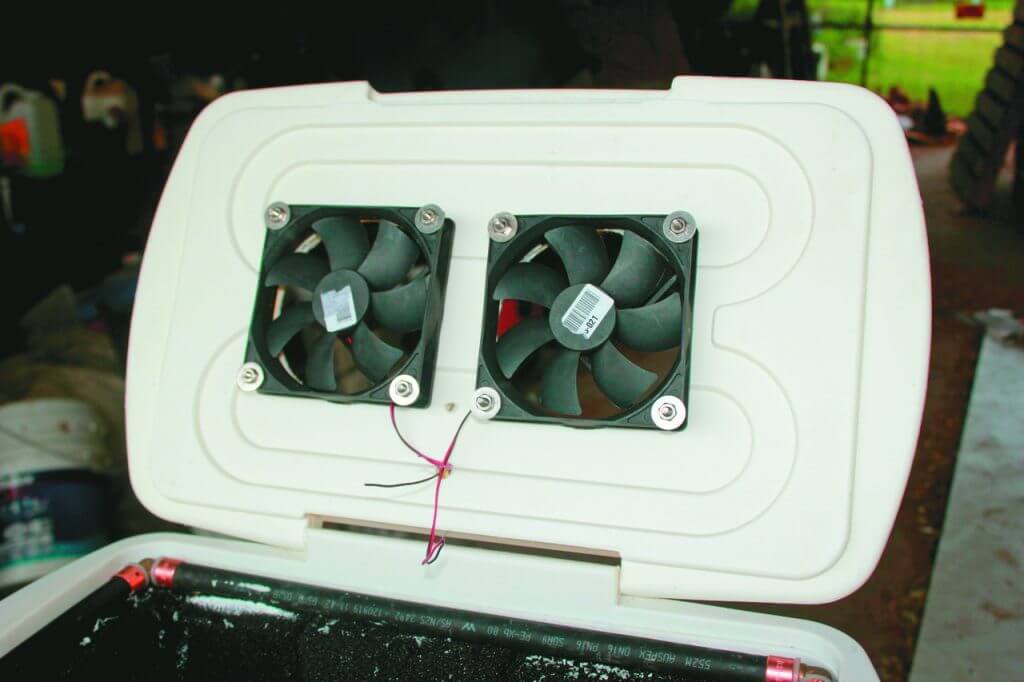
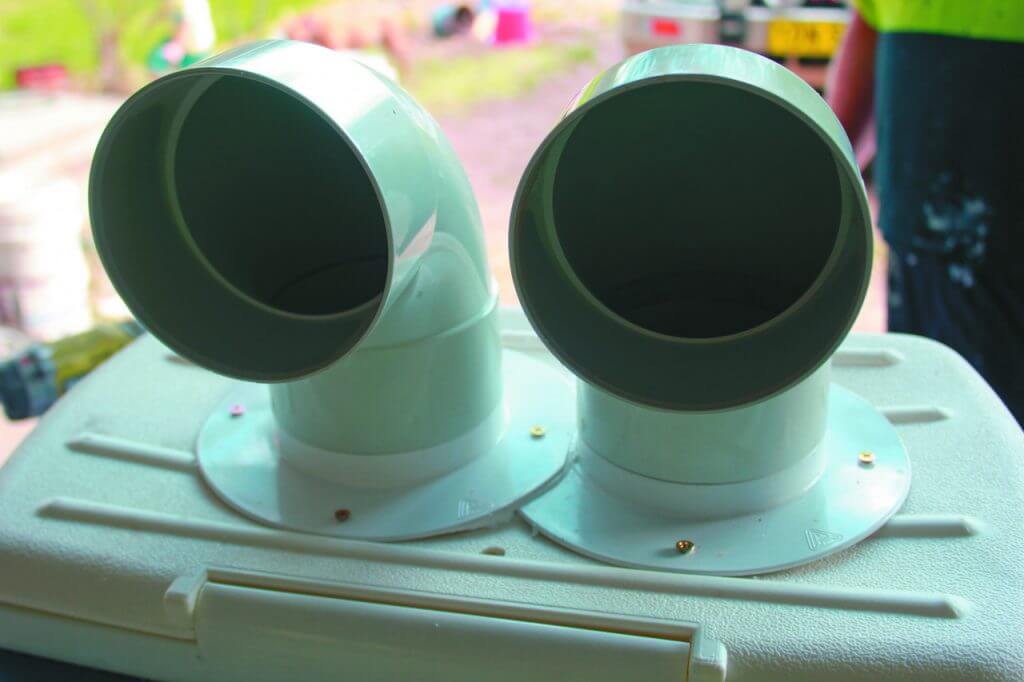
Fit the fans through each hole from underneath the lid.
Fit plumbing fittings to direct the air wherever you require. Finally you need to wire the fans and pump to the 12V cord. Be sure to heat-shrink the joints and use silicon to ensure the hole for the leads is airtight, so the air comes through the pads.
Finally, add water and ice and turn it on. Voila, job done.
Of course, you could do the old ‘blow air over a bucket of ice approach’, but we reckon this method’s not only much more efficient, it works a charm too.